Check back weekly to read about my favorite Pinterest post of the week.
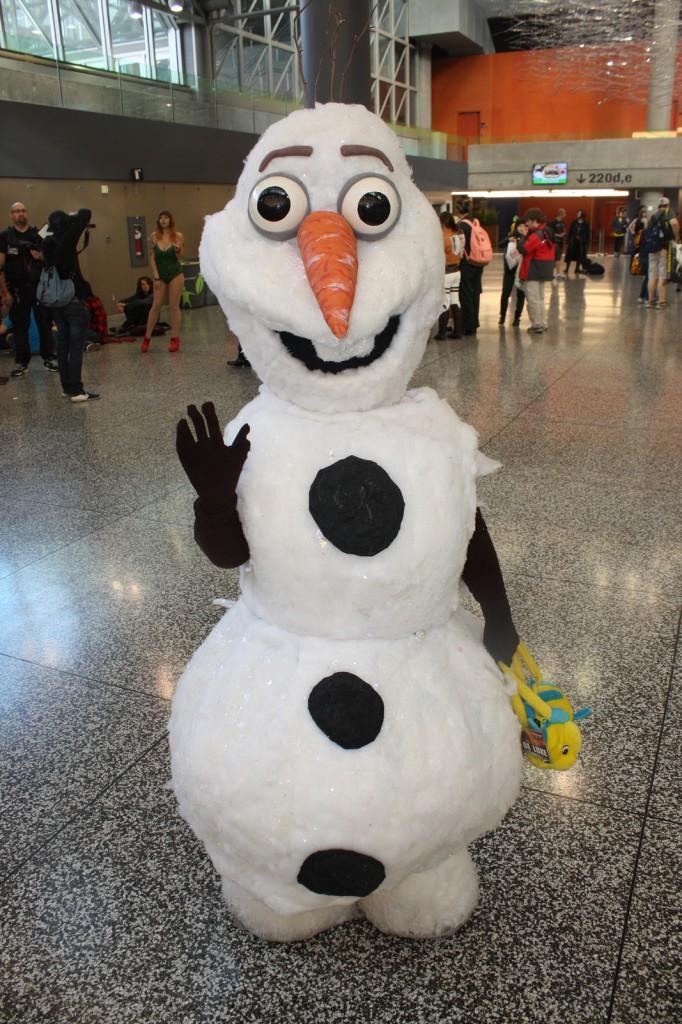
This super-cute and super-easy Olaf from Frozen ornament is the best thing for the upcoming winter season! It brings some spunk to any tree or it can even stand alone as a major center piece! This will definitely be the talk of the winter season!
This can be a great gift of any Frozen fan!
Here’s a list of supplies to make this:
- a shatterproof ornament (the size of a baseball is suggested)
- clay or playdough you don’t need a lot of this (in the colors: orange; black; and brown)
- glitter (you can go with just plain white glitter of you can mix the white glitter with blue or gray glitter too!)
- self-adhesive letters (vinyl letters are recommended)
The first step is making olaf, or just a snowman. To start, get the clay in the multiple colors listed above to start. These can be made in any order. The orange is for the snowman nose.Take a small bit of the clay and roll it into a cylinder type shape. Make one end being slightly larger than the other. Next, make his arms. Roll the brown clay into a cylinder like how the orange was molded but, this needs to be a lot thinner. Make two of these. Then bend the pieces to make the elbows. The easiest, and final step with the clay is the buttons/eyes. Just roll your black clay into small spheres of all different shapes and sizes. Make two or three of these, depending on what they represent, the buttons or the eyes.
While the clay and or playdough objects dry, the next step is to make snow for the bottom of the bulb. Pour glitter in till the bottom portion of the bulb is covered. Pour more or less in depending on a preference. Mix other colors with the white or blue that is used as a base color. Just pour the other color in and shake the bulb a couple times to evenly distribute the extra color(s).
Now, to add lettering to the outside of the bulb. Use the olaf saying “some people are worth melting for” or any other quote! After that, add the snowman parts to the glitter solution inside the bulb. In the end, it’s a really easy and extremely cute project!